Solo Camping Sleep System Guide: Sleep Warm, Sleep Well
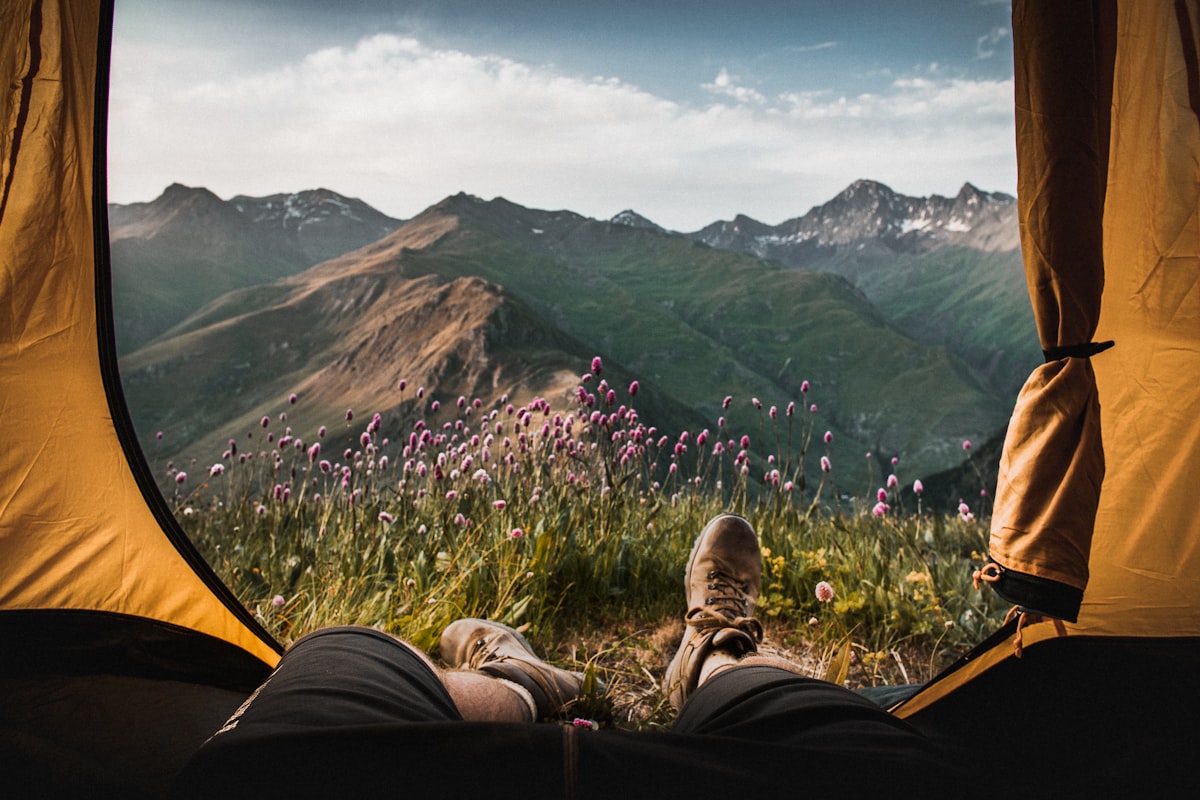
Image source: Unsplash (Free to use)
Solo Camping Sleep System Guide: Sleep Warm, Sleep Well
I spent my first four solo camping trips convinced I needed a warmer sleeping bag. I was cold every single night, so I bought a bag rated 5°C lower. I was still cold. Then somebody at a trailhead asked what sleeping pad I was using, I said a cheap 8 mm foam roll from a supermarket, and they laughed — not unkindly — and explained that I had been throwing money at the wrong half of the problem.
They were right. I swapped the pad, kept the original bag, and slept warm that same weekend. Understanding why is the most useful piece of outdoor knowledge I have ever picked up, and it is the core of this guide.
The Core Concept: Your Sleep System Has Three Parts
A sleeping bag is not a sleep system. A sleep system is:
- Insulation below you — the sleeping pad
- Insulation above you — the bag or quilt
- What you wear and do — clothing, food, and habits
Beginners obsess over part 2, neglect part 1, and ignore part 3 entirely. In reality, roughly half your heat loss on a cold night goes downward into the ground through conduction. The ground is an enormous heat sink at a stable temperature, and it is in direct contact with you all night.
Your sleeping bag's insulation works by trapping air in loft. When you lie on it, your body weight crushes that loft to nothing. The insulation underneath you is, functionally, not there. This is why a warm bag on a thin pad fails, and why my "buy a warmer bag" strategy was doomed from the start.
Part 1: The Sleeping Pad and R-Value
What R-Value Means
R-value measures resistance to heat flow. Higher is warmer. Unlike temperature ratings, R-values are additive — stack an R-2 foam pad under an R-3 inflatable and you get roughly R-5. This is genuinely useful.
Since 2020 there is a standardized test (ASTM F3340), so R-values from different manufacturers are now directly comparable. Older gear may use unverified marketing numbers — treat those with suspicion.
What R-Value You Actually Need
- R-1 to R-2: Warm summer nights only, above roughly 15°C. This is where my supermarket foam roll sat.
- R-2 to R-3: Mild 3-season use, down to about 7°C.
- R-3 to R-4.5: Solid 3-season, down to freezing. This covers most solo camping most of the year.
- R-4.5 to R-6: Cold weather, reliably below freezing.
- R-6+: Winter, snow, sustained deep cold.
If you buy one pad, buy something around R-4. It handles nearly everything and is not excessive in summer.
Pad Types
Closed-cell foam (accordion or roll). R-value around 2. Indestructible — cannot puncture, ever. Cheap. Light. Bulky, and noticeably less comfortable. I still carry one as a supplement in cold weather and as a sit pad.
Self-inflating (foam core plus air). R-3 to R-5. Comfortable, reasonably durable, moderately heavy. A good default for car camping and shorter approaches.
Inflatable with internal insulation. R-2 to R-7 depending on model. Lightest for the warmth, most comfortable, packs smallest, most expensive, and puncturable. Always carry a patch kit. This is what most experienced backpackers use.
The stacking strategy: foam pad underneath, inflatable on top. Adds R-value, protects the inflatable from ground punctures, and gives you a functioning backup if the air pad fails. On a solo trip, that redundancy has real value — nobody else is carrying a spare.
Width and Length Matter More Than People Think
A pad narrower than your shoulders means your arms fall off the sides onto cold ground and you wake up. A pad shorter than you means cold feet. Regular-width pads (51 cm) are fine for smaller frames; if you are broad-shouldered, the wide version (64 cm) is worth the weight. Side sleepers benefit disproportionately from wider pads.
Part 2: The Bag or Quilt
Understanding Temperature Ratings
The EN/ISO standard gives two numbers:
- Comfort rating: the temperature at which an average cold sleeper stays comfortable.
- Limit rating: the temperature at which an average warm sleeper stays comfortable, curled up.
Manufacturers often advertise the limit rating because it is the more impressive number. Plan around the comfort rating. Then add a margin: I buy for roughly 5°C colder than the coldest night I expect. Weather forecasts are wrong, valleys hold cold air, and being too warm is a problem you solve by unzipping.
There is also an extreme rating on some labels. That is a survival number — six hours without hypothermia, curled up, shivering. It is not a usable comfort figure and should be ignored for planning.
Down vs Synthetic
Down — the honest case for it:
- Best warmth per gram by a wide margin
- Packs far smaller
- Lasts 10–15 years with care, sometimes much longer
- Loses most of its insulating ability when wet
- Expensive
- Look for fill power 650–900. Higher fill power means more loft per gram, so a lighter bag for the same warmth. Check for RDS (Responsible Down Standard) certification if animal welfare matters to you.
Synthetic — the honest case for it:
- Retains meaningful warmth when damp. This is the decisive advantage.
- Roughly a third to half the cost
- Dries much faster
- Heavier and bulkier for the same warmth
- Loses loft over years of compression; expect 5–8 years of good service
How I decide: synthetic for wet climates, canoe and kayak trips, or a first bag on a budget. Down for cold, dry conditions and when weight matters. Down with a hydrophobic (DWR) treatment is a reasonable middle ground, though it delays rather than prevents wetting-out.
Shape
- Mummy: warmest and lightest for the insulation used, because there is less dead air to heat. Restrictive if you move a lot.
- Rectangular: roomy, poor thermal efficiency, heavy. Fine for car camping in mild weather.
- Semi-rectangular: a workable compromise.
- Quilt: no zipper, no hood, open back. Saves 200–400 g by removing insulation you were compressing anyway. Excellent above roughly 0°C and standard for hammock users. Takes a few nights to get used to sealing the edges.
Features That Genuinely Matter
- A draft collar around the neck. In cold weather this is worth more than 100 g of extra fill. It stops the bellows effect that pumps warm air out every time you move.
- A hood that actually cinches. You lose serious heat through your head.
- A draft tube behind the zipper. Without it, the zipper is a cold stripe down your side.
- A footbox with shape. Flat footboxes crush toe insulation.
Part 3: Clothing, Food, and Habits
This is the free part, and it is worth 5–8°C of effective warmth.
What to Wear
- Dry base layer, changed at bedtime. Whatever you hiked in holds moisture even when it feels dry, and evaporation cools you all night. A dedicated sleep base layer that never leaves the tent is one of the highest-value habits in camping.
- A beanie. Always, even in summer.
- Dedicated dry sleep socks. Never the ones you walked in.
- Do not over-layer. Wearing a puffy jacket inside your bag can compress the bag's loft from within and make you colder. If you need the jacket, your bag is underrated for the conditions.
- Vent before you sweat. Sweating inside a bag wets the insulation. Unzip early.
Food and Timing
- Eat a fatty snack right before sleeping. Nuts, cheese, chocolate. Digestion generates heat for hours. This is not folklore; it measurably works.
- Do not go to bed cold. Your bag traps heat, it does not create it. Ten minutes of light movement — squats, a short walk — before getting in.
- Hot water bottle in the footbox. A hard-sided bottle filled with hot water, lid checked twice, wrapped in a sock. Holds heat 4–6 hours. The most effective cold-weather trick there is.
- Pee before bed. Your body spends energy keeping urine warm. Also, you will not have to get up at 3 a.m., which is when most people get properly cold.
Site Selection for Warmth
- Avoid valley bottoms and hollows. Cold air is dense and pools in low ground. A site 10 m higher on a slope can be 5°C warmer.
- Avoid pitching right beside water. Higher humidity, more condensation, colder air.
- Use natural windbreaks — shrubs, boulders, a stand of trees. Wind strips heat faster than still cold air.
- Under tree cover rather than open sky. Clear open sky radiates your heat away; a canopy reflects some back. The difference is real and can be several degrees.
- Check for slope. Sleeping with your head downhill is miserable. Head slightly uphill, feet down.
Common Mistakes
- Under-buying the pad. The mistake I made for four trips. If your budget is limited, spend on the pad before the bag.
- Trusting the limit rating instead of the comfort rating.
- Storing a bag compressed. This permanently kills loft. Store loose in a large mesh sack or hung in a closet. Only compress for transport.
- Never washing the bag. Body oils mat down and reduce loft. Wash annually with a technical down or synthetic wash, dry thoroughly and slowly, with dryer balls for down. A clean bag is a warmer bag.
- Sleeping in damp clothes. Covered above, and it is the most common single cause of a cold night.
- No vapour protection for the bag. Keep your bag in a dry bag inside your pack, always. A soaked down bag on a solo trip is a genuine emergency, not an inconvenience.
- Ignoring the pillow. Bad sleep is bad sleep even when you are warm. An inflatable pillow weighs 80 g.
Building a System on a Budget
If you are starting from nothing, this order maximizes comfort per dollar:
- Closed-cell foam pad — cheap, indestructible, R-2. Immediate improvement over nothing.
- A synthetic bag with a realistic comfort rating for your season. Do not chase ultralight yet.
- An insulated inflatable pad to stack on the foam. This is the upgrade that transforms cold nights.
- A dedicated sleep clothing set — base layer, socks, beanie. Costs almost nothing, works immediately.
- A down bag or quilt, once you know what conditions you actually camp in.
I would put steps 1, 2, and 4 above any other gear purchase for a new solo camper — above the tent, above the stove, above the pack.
Wrapping Up
Sleeping badly outdoors is not a rite of passage. It is almost always a solvable equipment or habit problem, and the solution is rarely a more expensive sleeping bag.
Get the R-value right for your conditions. Plan around comfort ratings, not limit ratings. Change into dry clothes, eat something fatty, and put a hot bottle in the footbox. Pitch on a slope rather than in a hollow, under trees rather than open sky.
Do those things and you will sleep well enough that the next morning feels like the reason you came, instead of something to survive.