Solo Camping for Two Stargazing Guide: Dark Sky Nights
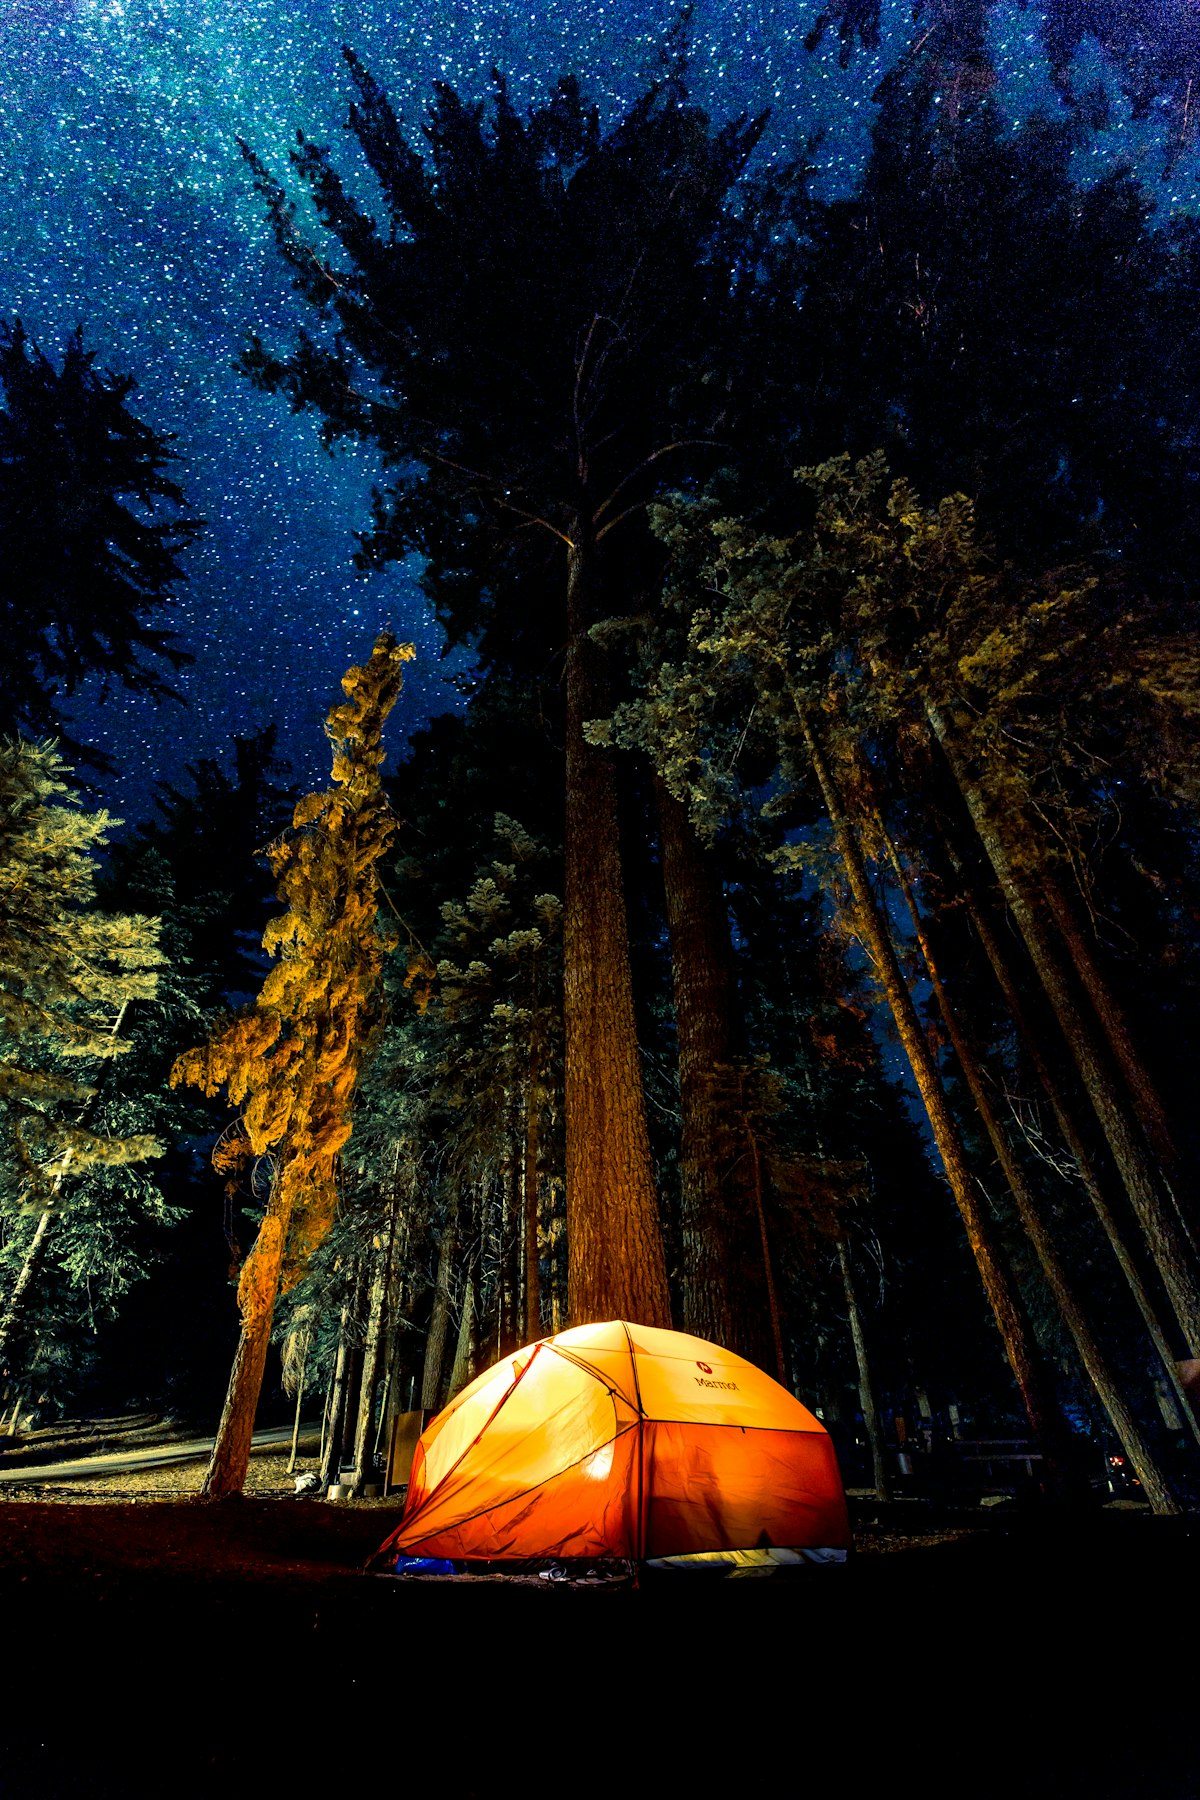
Image source: Unsplash (Free to use)
Solo Camping for Two Stargazing Guide: Dark Sky Nights
The first time we saw the Milky Way properly, neither of us said anything for about ten minutes. We had driven four hours into eastern Oregon specifically to get away from city light, arrived at dusk, set up in a hurry, and then just sat on a rock as the sky filled in. It kept getting better for an hour. By full dark there were so many stars that the familiar constellations were hard to pick out — there was too much else in the way.
That trip permanently changed how we plan. Now the night sky is often the reason we go somewhere, not a bonus. If you camp as a duo and want to build a trip around stargazing, here is what actually matters — and most of it is planning, not equipment.
The Three Things That Determine Your Night
Almost everything about stargazing quality comes down to darkness, moon, and weather. Get all three right and a bare-eye night beats a telescope under bad conditions.
1. Darkness: Escaping Light Pollution
Light pollution is measured on the Bortle scale, 1 (pristine) to 9 (inner city).
- Bortle 1–3: The Milky Way is obvious, structured, and casts faint shadows. This is what you are driving for.
- Bortle 4–5: Milky Way visible but washed out. Still a good night.
- Bortle 6–7: Suburban. A few dozen stars. Not worth planning around.
- Bortle 8–9: Urban. Moon and planets only.
Use a light pollution map to find dark zones near you. In most of the developed world, reaching Bortle 3 or better means 2–4 hours of driving from a major city. Certified Dark Sky Places — designated by the International Dark-Sky Association — are reliable targets and often have camping nearby.
Practical rule we use: get at least 80 km from any city over 500,000 people, and check that no mid-sized town sits in the direction you want to look.
2. Moon Phase: The Factor People Forget
A full moon is roughly 400,000 times dimmer than the sun and still bright enough to erase the Milky Way completely. This is the single most common planning mistake.
- New moon ± 4 days: Ideal. Darkest skies, faintest objects visible.
- Crescent (up to ~30% illuminated): Good, especially if the moon sets early.
- Half moon: Bright objects only. Fine for a casual night.
- Gibbous to full: Effectively no deep-sky viewing. Beautiful for landscape though — moonlit hiking without a headlamp is its own experience.
Check both the phase and the rise/set times. A 40% moon that sets at 11 p.m. gives you five excellent hours afterward. Plan around moonset, not just phase.
3. Weather and Transparency
Clear is not the same as good. What you want:
- Low humidity. Moisture scatters light and dulls contrast. Dry desert air is spectacular.
- Stable air for sharp views of planets and the moon.
- No high thin cloud, which is invisible in daylight and ruins nights.
- Cool but not freezing. Comfort determines how long you actually stay out.
Autumn is often the sweet spot: dry air, long nights, tolerable temperatures. Winter has the darkest, clearest skies and the shortest tolerance window.
Where to Point Your Trip, Season by Season
Spring
Galaxy season. Looking away from the Milky Way's plane means looking out of our galaxy into deep space. The Virgo and Coma galaxy clusters are dense with faint fuzzy patches in binoculars. The Big Dipper rides high, making it easy to find north.
Summer
The best Milky Way months. The galactic core in Sagittarius and Scorpius is up, dense and structured. The Summer Triangle (Vega, Deneb, Altair) dominates overhead. The Perseid meteor shower peaks in mid-August and is genuinely worth planning a trip around — up to 60 meteors an hour under dark skies.
Autumn
Andromeda season. The Andromeda Galaxy is visible to the naked eye as a faint smudge under dark skies — the most distant thing most people ever see unaided, at 2.5 million light years. Cooler air, less haze, long comfortable nights.
Winter
Orion. The Orion Nebula is the single most rewarding deep-sky object for beginners — visible in binoculars as an obvious glowing cloud. The Pleiades cluster is stunning at low magnification. Skies are at their most transparent. Bring far more insulation than you think you need.
Gear: Less Than You Expect
The Honest Truth About Telescopes
Do not bring a telescope on your first stargazing camping trip. They are heavy, need setup in the dark, require learning to aim, and give narrow views that are hard to share between two people. We own one. It stays home for camping.
What We Actually Bring
- Binoculars, 8x42 or 10x50. This is the highest-value stargazing purchase, full stop. Wide field, easy to share, no setup, and they turn the Milky Way into a dense field of resolved stars. 10x50 gathers more light; 8x42 is easier to hold steady.
- A red headlamp, or red cellophane taped over a normal one. Non-negotiable, explained below.
- A star chart or offline app. Download maps before you lose signal. Set the app to red night mode.
- Two reclining camp chairs or sleeping pads. You will be looking straight up for hours. Neck strain ends sessions early. Lying flat on a pad with a quilt is the most comfortable option and costs nothing extra.
- Far more insulation than the temperature suggests. Sitting motionless for three hours at 10°C feels like hiking at freezing. Down jacket, hat, gloves, and a quilt over the legs — even in summer.
- A thermos of something hot. Prepared before dark, because you will not want to cook at midnight.
- A phone tripod if you want photos. Modern phone night modes capture the Milky Way surprisingly well with a 10–30 second exposure and a stable mount.
Protecting Night Vision
This is the technique that separates a decent night from a great one, and it costs nothing.
Your eyes need 20 to 40 minutes of complete darkness to reach full dark adaptation. A single glance at a white light resets that process almost entirely. One person checking their phone ruins the night for both of you.
Rules we hold to strictly:
- Red light only, and as dim as possible. Red wavelengths barely affect the chemical process behind dark adaptation.
- No phone screens unless in red night mode at minimum brightness.
- Set up camp completely before dark so you never need bright light after.
- Agree on this with your partner beforehand. It only works if both of you commit. We have a rule: any white light requires announcing it first.
- Use averted vision for faint objects. Look slightly to the side of the target — the periphery of your retina is far more light-sensitive than the center. Faint galaxies literally appear when you look next to them.
Making It Work for Two
Stargazing as a duo is better than alone, but only if you set it up right.
- Two chairs or pads, side by side, both facing the darkest horizon. Away from any road, campfire, or lit toilet block.
- No fire during observation. This is the trade-off nobody likes. A campfire destroys night vision completely. We compromise: fire and dinner early, fire fully out by full dark, stargazing after. Or fire well downwind and behind us.
- Take turns finding things. One person navigates with the chart while the other looks. Then swap. Learning together is much faster than learning alone.
- Share binoculars, do not fight over them. Ten minutes each, then swap. Or buy a cheap second pair — a serviceable 10x50 costs less than a good sleeping bag.
- Set a soft end time. It is easy to stay out until 3 a.m. and then be wrecked for the hike the next day. We aim for two solid hours and go to bed.
A Realistic First Dark Sky Trip
- Pick a date within 3 days of new moon. Work backwards from this.
- Find the nearest Bortle 3-or-better area with legal camping. Check a light pollution map.
- Check the forecast 48 hours out and be willing to move the trip. Clouds beat everything.
- Arrive at least 90 minutes before sunset. Set up completely, cook, eat, and put out any fire while you can still see.
- Learn three things, not thirty. Find Polaris. Find one bright planet. Find the Milky Way. That is a successful night.
- Look at the moon through binoculars on a non-new-moon trip. The crater detail along the terminator line is astonishing and nobody expects it.
- Stay out past your first instinct to go in. The sky at 1 a.m. is different from the sky at 10 p.m. Objects rise.
Safety and Etiquette
- Scout the ground in daylight. Know where the drop-offs, the fire ring, and the guy lines are before you are walking around in the dark. We flag guy lines with reflective cord.
- Tell someone your plan and return time. Standard practice, doubly important when you will be awake and moving at night.
- Watch for temperature drops. Clear nights radiate heat away fast. It can be 15°C colder at 2 a.m. than at sunset.
- Respect other campers absolutely. Never shine a white light toward anyone, never walk through someone's site, keep voices low. The astronomy community is unusually strict about this, and rightly so.
- Leave no trace. Pack out everything, including the mug you set down in the dark. We do a headlamp sweep of the site every morning.
Wrapping Up
The best stargazing night we have had required no equipment beyond a pair of 10x50 binoculars, two foam pads, and a decision to drive three hours away from a city during a new moon. Total cost was fuel and a campsite fee.
What makes it work is planning three variables — darkness, moon, weather — and then protecting your night vision once you are there. Everything else is optional.
Lie down, look up, and give it forty minutes. The sky you see after full dark adaptation is not the same sky you saw when you arrived.